In the previous post I discussed using the Look At My Hair (LAMH) tool in DAZ Studio. LAMH was designed for the render engine 3Delight but it can also be used with the Iray render engine.
There are several DAZ3D vendors whose work I love and always try to add their items to my DAZ Studio Library particularly when there is a sale! One is Stonemason who makes great architectural environments from huge cityscapes such as his latest Urban Sprawl which is a huge scene to smaller scenes like ruins in a jungle. The beauty of Stonemason's work is that they also work well in Vue, not requiring a lot of material adjustments to get good results.
Another vendor I love is Alessandro_AM who is the developer of the Look At My Hair tool and also models animals with hair included, of course! BTW the full LAMH tool is not required to use Alessandro's animals. He also offers a LAMH player which is free at DAZ 3D. Alessandro is also a Vue artist and has some great plants in his store which are also made for Vue. My favourite animal by Alessandro has to be his Wolf 2.0 which is what I've used in this tutorial.
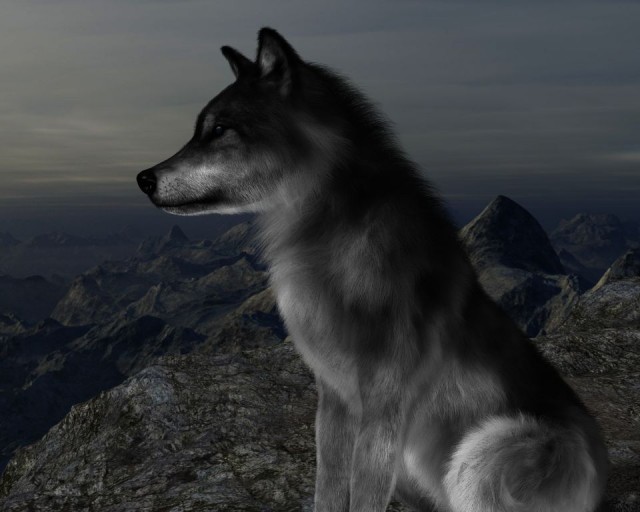
Look At My Hair only works natively in DAZ Studio's 3Delight render engine but with a few extra steps you can use the Iray render engine. The cover image of this post was rendered using Iray.
Here's my workflow for rendering LAMH fur in Iray.
1. In DAZ Studio 4.8 load the animal you want to use, eg Wolf 2.0. You can load the hair with it at this time or prepare your scene first. I find it better to wait to load the hair as it can slow down your computer with the hair.
2. Pose and position the animal in your scene. Make sure your animal is completely posed or you will have to do the following steps over later. Apply any materials you want.
3. Save your scene! Save frequently as LAMH can crash DS.
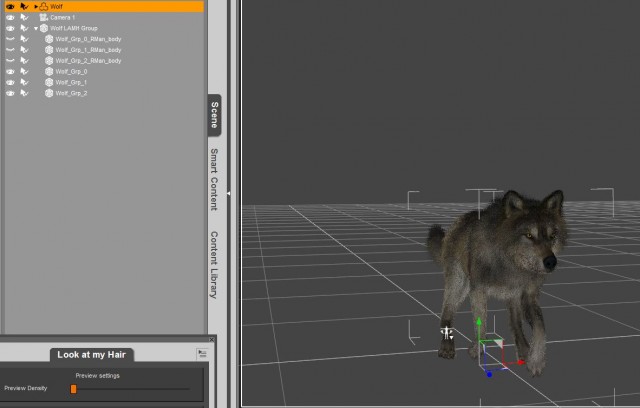
4. Open up the LAMH pane (player or full version). If you haven't done it yet attach the LAMH preset to your animal.
5. This is very important unless you have a super powerful computer. Make sure to check the hair quantity and if necessary lower it. I find around 500,000 reasonable but if it is preset at 1,500,000 or so you are very likely to have a freeze as your computer chokes on it! Been there, done that. Oh and I did mention to make sure you save frequently!
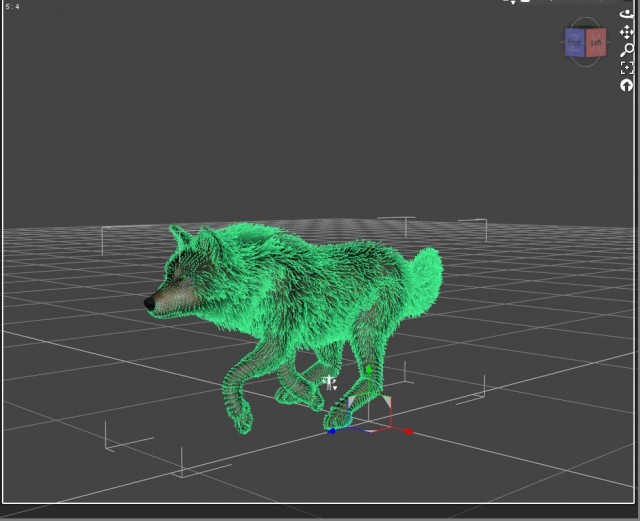
6. Now you want to send "to OBJ". You will get a couple of check boxes and just click ok. This step can take considerable time and if you have different shading groups you will have check boxes to ok for each one. If the green guide hairs disappear that is normal, they will come back once the process is finished.
7. Once the OBJ is send back to DAZ Studio there are a couple of more steps to take care of. First you must turn off the green guide hairs as Iray won't recognize them so won't render the hair. Don't delete them though.
8. The final step before rendering is to apply the Uber shader base for Iray to the hair and animal. Make sure each shading group has the Iray shader base applied.
9. You are ready to render your hair in Iray.
Happy renderings!