If you are an animal artist one of the drawbacks in 3D art is finding realistic animal models. The models themselves are hard to find but good texture maps and hair even harder. As a dog show person I can tell you hair can cover a lot of imperfections and this is the same in 3D. Some software comes with hair tools already installed but DAZ Studio does not. However, there are 2 hair tool add-ons available for DAZ Studio; Look at my Hair and Garibaldi Hair Express System for DAZ Studio. I have both but have never been able to get the hang of Garibaldi. I use Look at my Hair (aka LAMH) if I want to add hair to my animal models. There are two options for Look at my Hair; the free LAMH player or the full version. The player lets you add presets to your model though you can't edit the hair. There are also not that many presets available for animal hair. The full version lets you add presets but you can also use the editor to make changes or make your own hair from scratch. Both Garibaldi and Look at my Hair are made for the 3 Delight render engine. You can save the hair as obj to be used with other render engines like Iray, Lux Render or Octane but the resulting files tend to be huge and unless you have a very powerful computer it will probably choked trying to render!
While there are many videos related to LAMH I am going to go through the steps of making hair in Look at my Hair using the 3D Bison (available at DAZ). Everyone has a different workflow but this is mine.
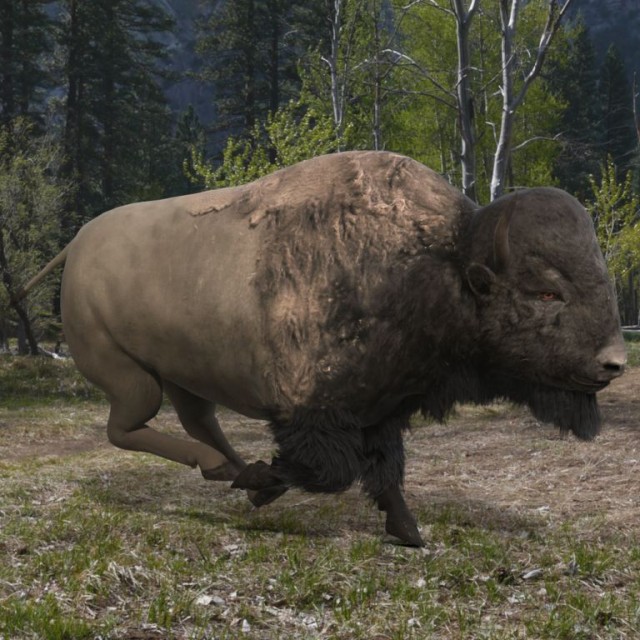
First open up DAZ Studio and load your animal and materials. In the case of the 3D Bison I also made some changes to the texture maps and added those in the Surfaces pane.
1. With the object that you want to add hair to selected in the Create Menu go to New Look at my Hair Object to bring up the Hair Saloon Pane. Note: You must have purchased and installed Look at my Hair!
2. To bring the object into LAMH; beside the drop down menu at the top right, click the button with the 2 arrows.
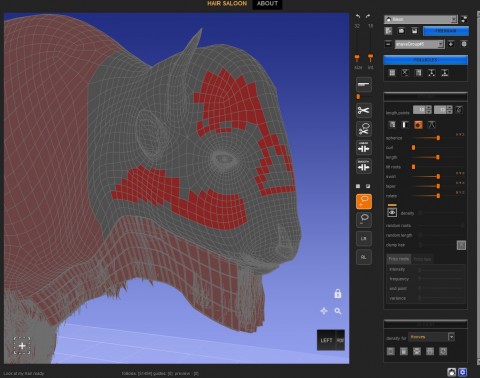
3. At this point I divide the animal up into shave groups and add the follicles. In the 2nd drop down menu it reads Shave Group #1 and I am going to add follicles to the Bison's body for the 1st shave group. This is an easy one so I am going to use "select follicles from surfaces" and ticking skin in the pane. The area is now red on the bison.
4. Using the cog icon beside the shavegroup drop down menu I am going to name and set up the surface. This defaults to human hair so I change the surface shader to standard and also up the root and tip thickness as animals don't tend to have as fine a hair as people. I re-name the shave group to something more obvious, in this case body. Update materials and exit.
5. Using the plus and minus icons you can add and delete shave groups. I now go through and set up my other shave groups. However in the case of the head I add follicles more selectively as I want to keep the eyes and mouth clear. You can "paint" the follicles by running the cursor over the polygons you want included or use the lasso tool. Work carefully around the areas where you do not want to add follicles. If you didn't get close enough at the beginning you can add them in later. Make sure to rotate the animal around on all angles as it is easy to miss polygons in less visible areas.
6. With the shave groups set up it is time to add the hair and style. Depending up the animal each shave group may be styled differently. For example in the case of the Bison his body is going to be fairly short and straight but over his shoulders it is going to be longer with more curl and roughness. In the shave group drop down menu choose the area you want to work on. It will turn a darker red to indicate the area.
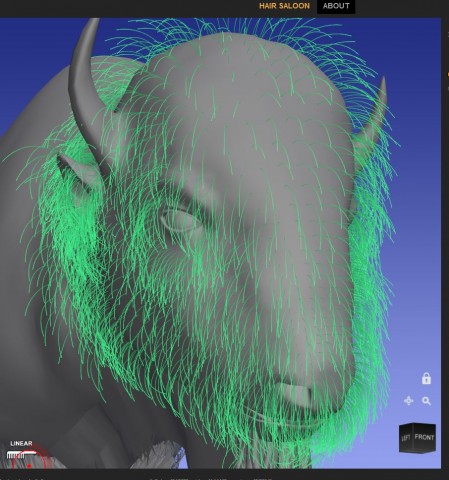
7. We are now going to work in the styling section. I'm starting with the body first by changing the length to about 6 cm or a couple of inches and then click the add hair icon. The area has sprouted green hair which are the guide hairs.
8. To start shaping the hair use the Spherize and Taper features by dragging the sliders. Dragging in different directions will get the hair to go one way or the other eg when spherizing on the y axis to the right will make the guide hairs face downwards. The further you drag the sliders the more the influence. You may need to do this multiple times to get the hair going in the direction you want and you can also change the axis. For the Bison's body I use Spherize on the Y axis (down) a couple of times and then on the X axis (back) to get the hair going in the direction I want. Then Taper on the Y axis a couple of times. It is a bit trial and error until you get used to the software. Note: Some actions like Spherize can take a moment or two. Depending upon the areas you are working on you may want to add some other effects such as tilt roots and curl. In the case of the Bison's body spherize and taper were sufficient.
9. You can now preview the hair by clicking the eye icon beside Density and yellow hairs will appear with the green guide hairs. You will probably want to increase the density at this point and also add some random length.
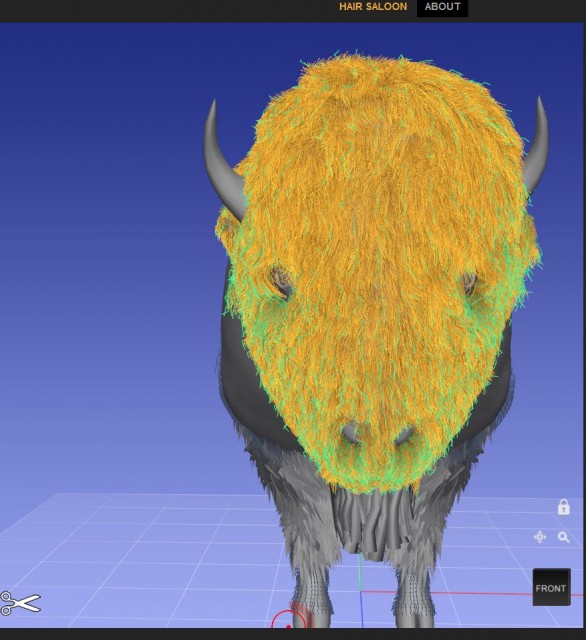
10. The Bison's body needed little styling but areas such as the head will need more work. The head is longer and shaggy so before adding hair I increase the length. Once again some Spherize and Taper to get the hair going in the direction I want but I also use tilt root.
11. Now some actual styling is needed to get the hair positioned where I want. I want the eyes to show and the hair has fallen over them so I will comb it out of the way. The comb which appears as a round red cursor can be sized and the intensity or influence changed. I had great difficulty with this at first despite watching various tutorials. The trick is to grab the hairs or hair points with the red dot in the middle of the brush/comb and drag the hair where you want it. And if you miss grabbing the hair you may end up rotating the scene instead.
12. In some cases you might want to scale (shorten or lengthen) hair in areas, eg shorten around the nose and eyes in the case of a dog. The choices are linear or smooth though I never have much luck with smooth. To scale again put the dot over the hair you want and drag. To the left shortens and to the right lengthens.
13. Hair can be cut using the scissors and clicking the dot at the point of the hair you want to cut. If the hair doesn't cut then you may have to rotate to get the right angle to click on the point. When you are cutting hair less is more or you may find yourself left with bald spots.
14. As with any other software save frequently. LAMH has a tendency to crash DAZ Studio when the least thing upsets it. :) To save use the Save Project icon. This will save it as a. lmh preset and the hair can be applied later when working on a new image.
15. Once you think you are finished with the hair you can then send it back to DAZ Studio to load on your model by clicking the Export Hair icon. This will bring up the Export options pane. At this stage you can choose to export as obj if you are using a render engine other than 3Delight or use the default Render Man for 3Delight (recommended). You can change the hair quantity for each group here. Unless you want very sparse hair the quantity should be upped considerably. I find 200000 to 300000 for animal hair usually works. Click Export and your animal in DAZ Studio should have hair. This can take awhile as each shave group is exported.
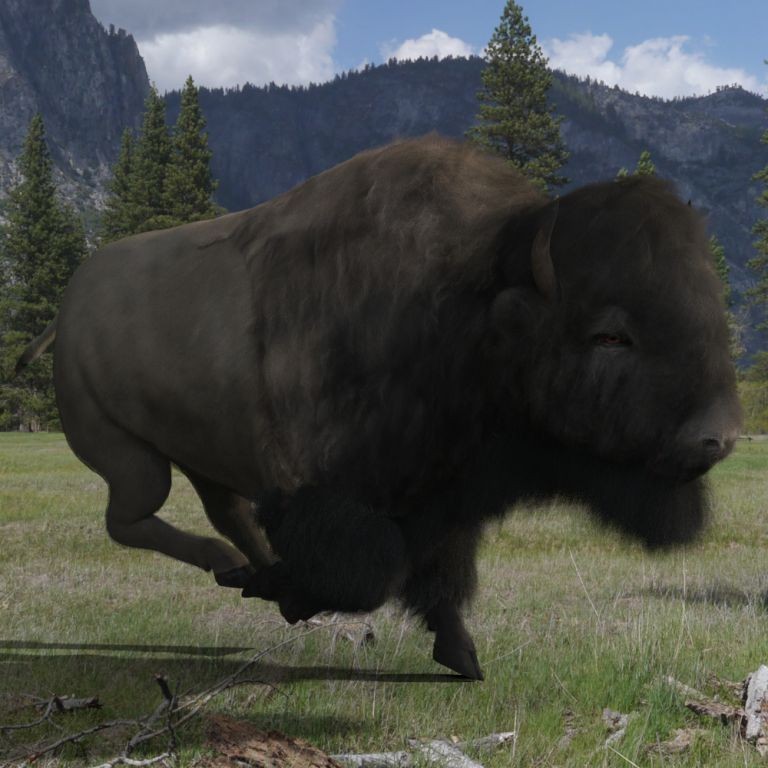
16. You can now pose your animal and your hair should follow the pose. 17. Prepare your scene, add lights and render. If you need to tweak the hair just send it back to LAMH.
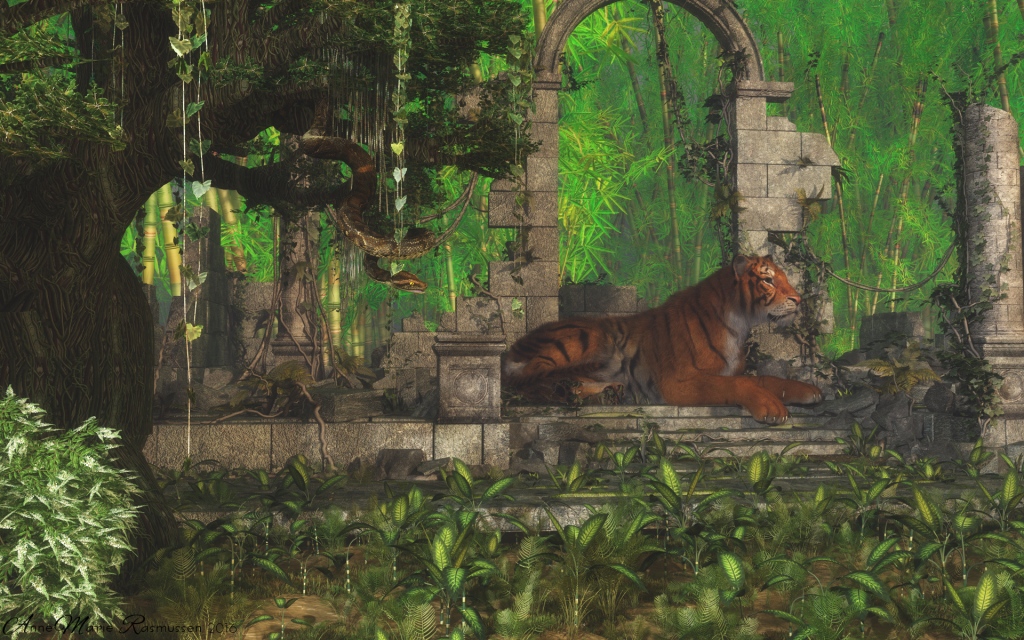
Next post we will look at using LAMH with Iray. BTW the tiger in the post's cover image is the DAZ's Big Cat 2, using Real Fur For DAZ Big Cat 2 and was rendered in Vue. The detailed instructions for exporting and using objects with LAMH to Vue are included in the book, Jump into Vue.
