Like many I buy at DAZ3D (and other stores) … a lot . But money doesn't grow on trees! Most characters come with materials such as skin mats, eye and lip colours, even tattoos and nail colours. But they may not always suit the look you are going for, which may leave you either searching through stores or you can DIY … Before going any further let me say that when making changes to textures, etc that it is probably ok for your renders but if you have plans to sell or giveaway check the Terms of Use at DAZ3D or elsewhere first. That is what Merchant Resources are designed for! In the book "A Primer for DAZ Studio" you would have learned how to use the L.I.E. but we are going to make the changes directly on the material image. This will be a series of "how to" posts on adding your own touches to a character. For this you will need an image editing software like Photoshop or GIMP. I'm a GIMP user so instructions may vary slightly if using Photoshop or other. And for those of you that prefer not to DIY I'll look at some products later which will make it easy.
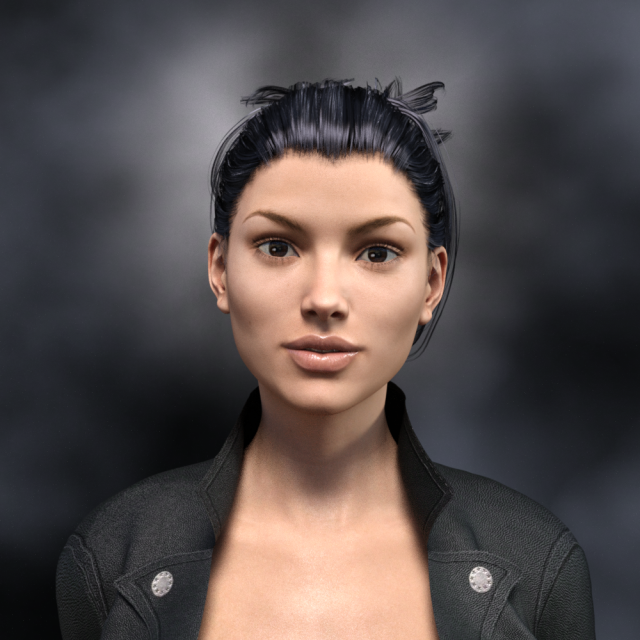
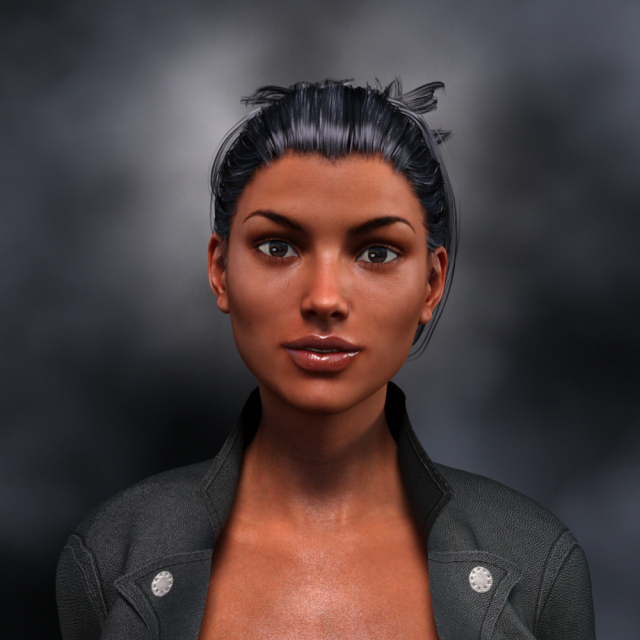
For this post I am going to use Victoria 7 but any figure could be used. First we need to locate the materials for Victoria 7. You will have to navigate to the folder in My DAZ 3D Library>Runtime>Textures>DAZ>Characters>Genesis3>Victoria7. Choose the material without makeup, in this case V7FaceMapD_1001and drag it into GIMP. This is the face map and the same steps apply to the torso and other body part maps. There are a variety of ways to do this but in this example I used Curves to modify the colour to a brownish red colour. Once happy with the colour, save the map. WARNING: it is best to save to another location than the MY DAZ 3D folder and use a different name. Otherwise you could overwrite the original file in error.
Now we go into DAZ Studio and add Victoria 7 to the scene. In the Surfaces Editor find Victoria 7 >Surfaces in Faces in the Base Color channel change the image to your new map. Do this for Ears and Lips as well. If you modified the torso and arm/legs maps you can change them as well in the appropriate surfaces.
Tip: Once you have loaded the map into the Face channel, right click the image box and copy selected surface, then paste it onto the image in the other channels, eg ears and lips.
Change the draw settings to Nvidia Iray to get an idea of what Victoria 7's skin looks like now.
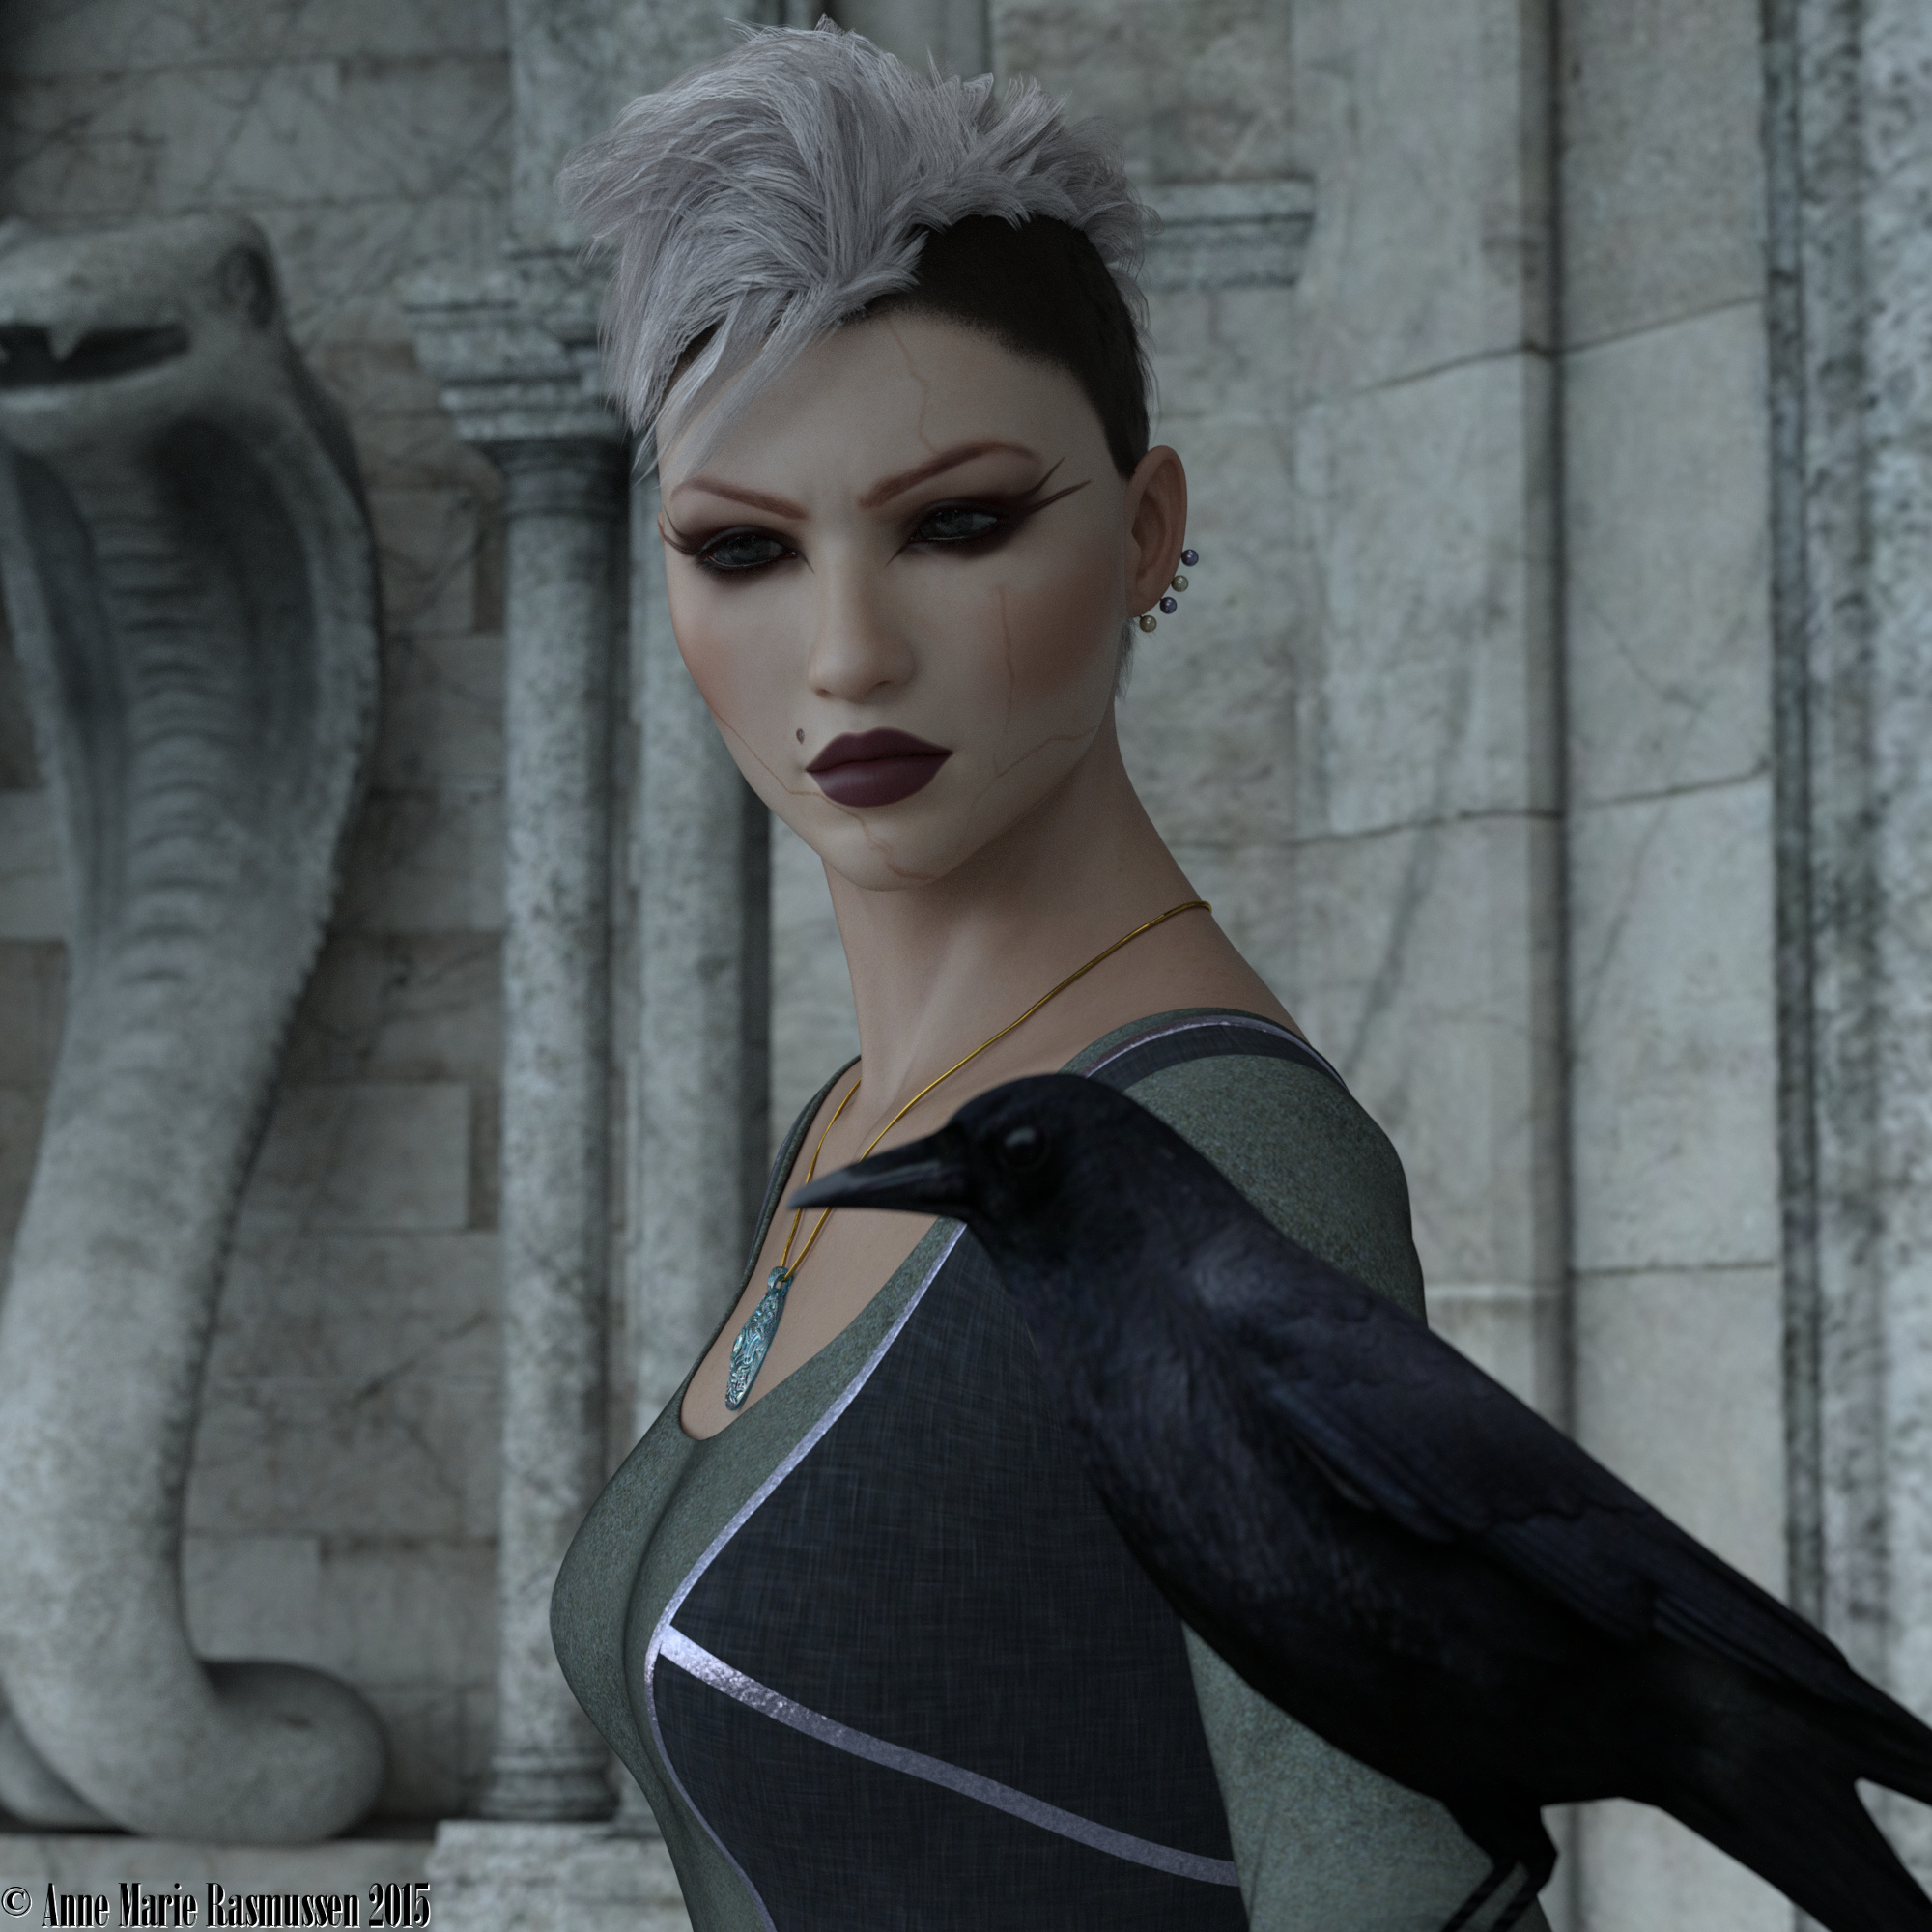
In the next post we will look at how to add our own makeup, blemishes and maybe a scar to our character. In the meantime I recommend visiting Obsidian Dawn's great brush website and pick up her eyeshadow and stitch and suture brushes. Make sure to read her Terms of Use for personal vs. commercial use.
Happy Renderings!
