
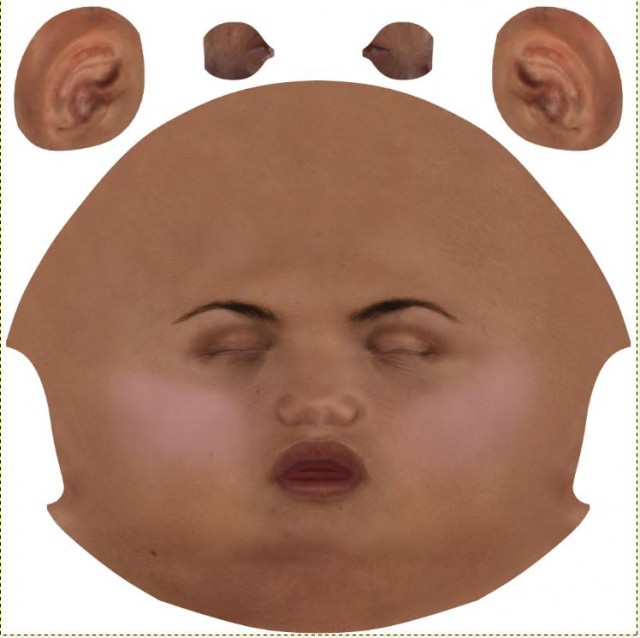
Continuing from our last post, in your image editor of choice add the new face map that you previously created. When working on any image it is always best to make the changes on layers, so add a layer. On this layer we are going to add some blush. So pick a colour you like for the blush and using a brush (a sponge or texture brush is good) start painting your blush on the cheeks where you want it. Unless you want your character to look like someone's ancient grandmother go lightly! After I finish painting on the blush I also blur the layer. Now we are going to add eye shadow …
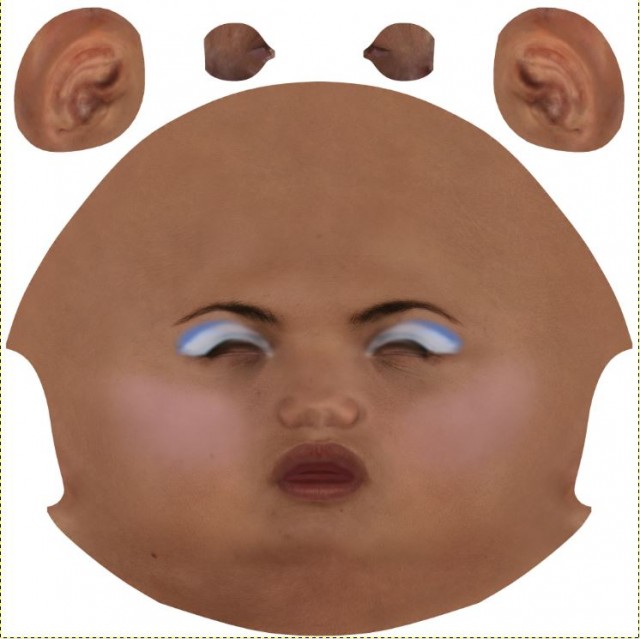
For each eye shadow colour use a separate layer! If you are using the Obsidian Dawn brushes they are black to start so you will have to change colors as you use them. Start on one eye and layering your colours and add some blur if necessary. Be creative and have fun!
Well you've got one eye done but you do sort of want the other eye to match! The easiest way is to merge the eye shadow layers, duplicate the resulting layer, flip horizontally and move to the second eye.
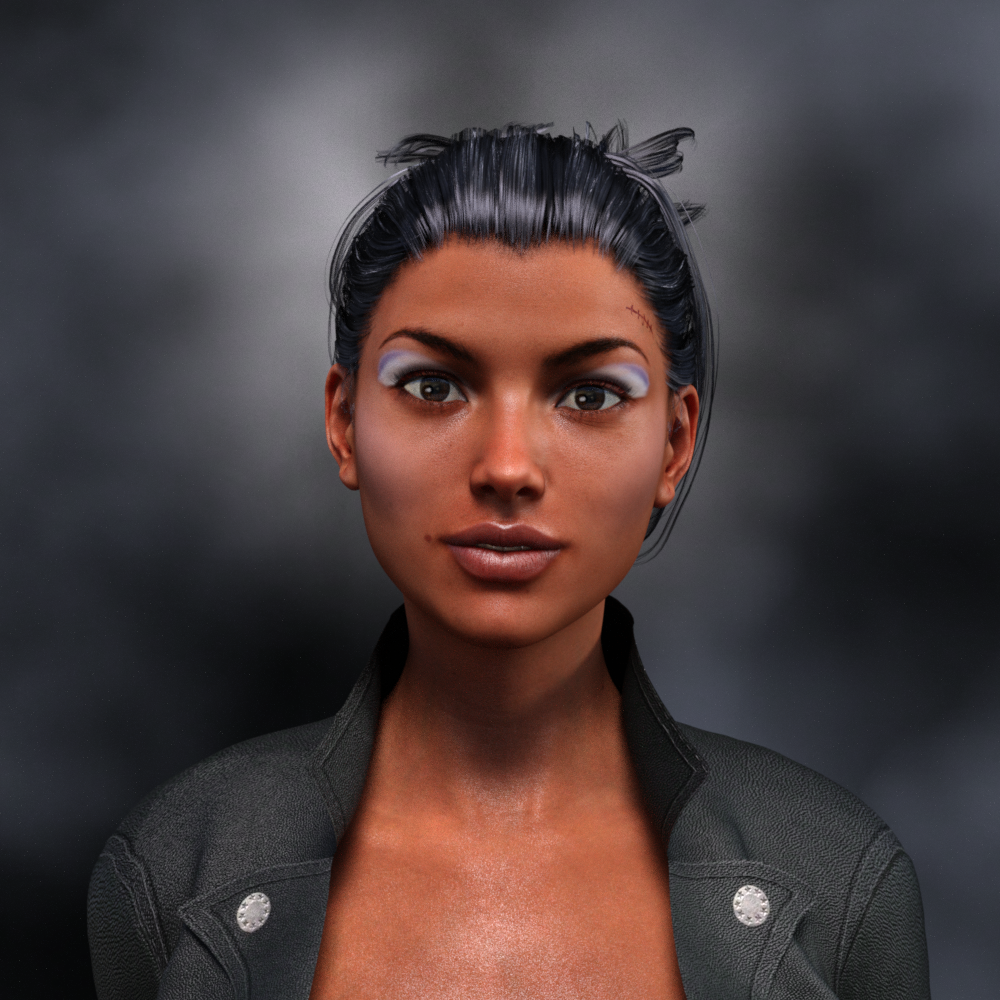
Finally let's add a mole and some stitches .. A mole is fairly easy. Just add a new layer and paint it on where you want. Use a texture type brush rather than a simple round brush as moles are never even. Beauty spots can be more even and also different colours. Same process with the suture; add a layer and paint it where you want it. Makeup in real life is fairly flat whereas moles and sutures can be raised so for total realism you may want to add those to a bump map as well.
So when you have finished your masterpiece you need to save it. Now let's see what your masterpiece looks like! Load Genesis 3 Female in DAZ Studio and go back to the Surface Editor. In the face's base colour channel change the image to the new one. Change your draw settings to Iray to see what it looks like. You may have to go back and make some adjustments in the image editor if it is not entirely as you want it. Note: if you are using 3Delight materials it is the diffuse channel where the image is added.
Tip: If you have revised your image, delete or move the earlier one and then purge your memory in DAZ Studio before trying to load the revised image.
Well the eye shadow is a bit obvious but it is just a demonstration! :)
In our next post we'll look at some fun products for those who are like me and like to take the easier route when it comes adding the special touches….
Happy Renderings!
